Achieving a flawless paint job at home is easier than many homeowners realize. The secret lies in using the right tools and techniques, especially when striving for that sleek, even look seen in professionally painted spaces. If you’ve ever searched for Paint Rollers For Smooth Finish, you’re likely looking to bypass brush marks and uneven textures, ensuring your walls or furniture look impeccable. To help you get the most out of your painting project, we’ll explore how to select the ideal roller, prepare your surfaces, and master the smooth finish techniques that deliver truly professional results.
Choosing the Right Paint Roller
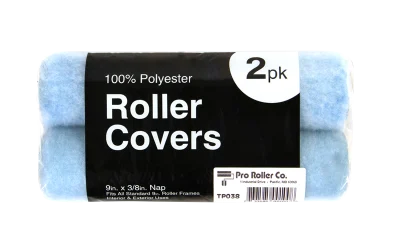
Selecting the appropriate paint roller is the foundation of any successful painting project. The roller’s material, nap length, and size all play a vital role in the quality of the finish.
- Material Matters: Foam rollers are excellent for ultra-smooth finishes on cabinets and doors, while woven rollers work well for walls and ceilings.
- Nap Length: For smooth surfaces like drywall or plaster, a short nap (1/4” to 3/8”) is best. Longer naps are designed for textured surfaces but can leave unwanted stippling on smooth walls.
- Roller Size: Standard 9-inch rollers cover large areas quickly, while smaller rollers are perfect for tight spaces or trim.
By matching your roller to your project’s needs, you set the stage for a seamless application.
Proper Surface Preparation
Even the best roller can’t compensate for poor surface preparation. Taking the time to prep your surfaces ensures the paint adheres properly and dries evenly.
1. Clean the Surface: Remove dust, grease, and old paint residues using a mild detergent or degreaser.
2. Sand for Smoothness: Lightly sand the surface with fine-grit sandpaper to eliminate imperfections and create a uniform base.
3. Repair Damage: Patch holes or cracks with spackling compound and sand smooth once dry.
4. Prime When Needed: Apply a high-quality primer to promote adhesion and further smooth the surface, particularly on new drywall or previously unpainted areas.
Techniques for a Smooth Finish
With the right roller and a well-prepared surface, technique becomes the next crucial element.
- Load the Roller Evenly: Dip the roller into the tray and roll it back and forth to evenly distribute the paint. Avoid overloading, which can cause drips.
- Use the “W” Pattern: Roll the paint onto the wall in a “W” or “M” shape, then fill in the gaps with horizontal and vertical strokes. This ensures even coverage and helps blend sections.
- Maintain a Wet Edge: Work in small sections and overlap slightly into the previous area while the paint is still wet to prevent lap marks.
- Apply Light Pressure: Let the roller do the work—pressing too hard can create streaks or roller marks.
Tips for a Professional Touch - Choose Quality Paint: High-quality paint levels better and is less likely to show roller marks.
- Work Quickly: Consistent speed prevents edges from drying before you can blend them.
- Finish with a Light Pass: After applying each section, lightly roll back over the area in one direction to smooth out any remaining texture.
For those wanting to learn more about the best tools for the job, check out this resource on Paint Rollers For Smooth Finish.
By carefully selecting your roller, preparing your surfaces, and applying proven techniques, you can achieve a smooth, professional-quality finish on your next painting project. Paying attention to these details not only enhances the final result but also ensures your efforts stand the test of time, leaving your home looking refreshed and expertly finished.